
Post-processing a 3D print can be one of the most time-consuming parts of the entire process. While some people may find this stage a little repetitive, it’s essential to achieve a smooth, professional finish before applying paint.
Phase 1: Dry Sanding
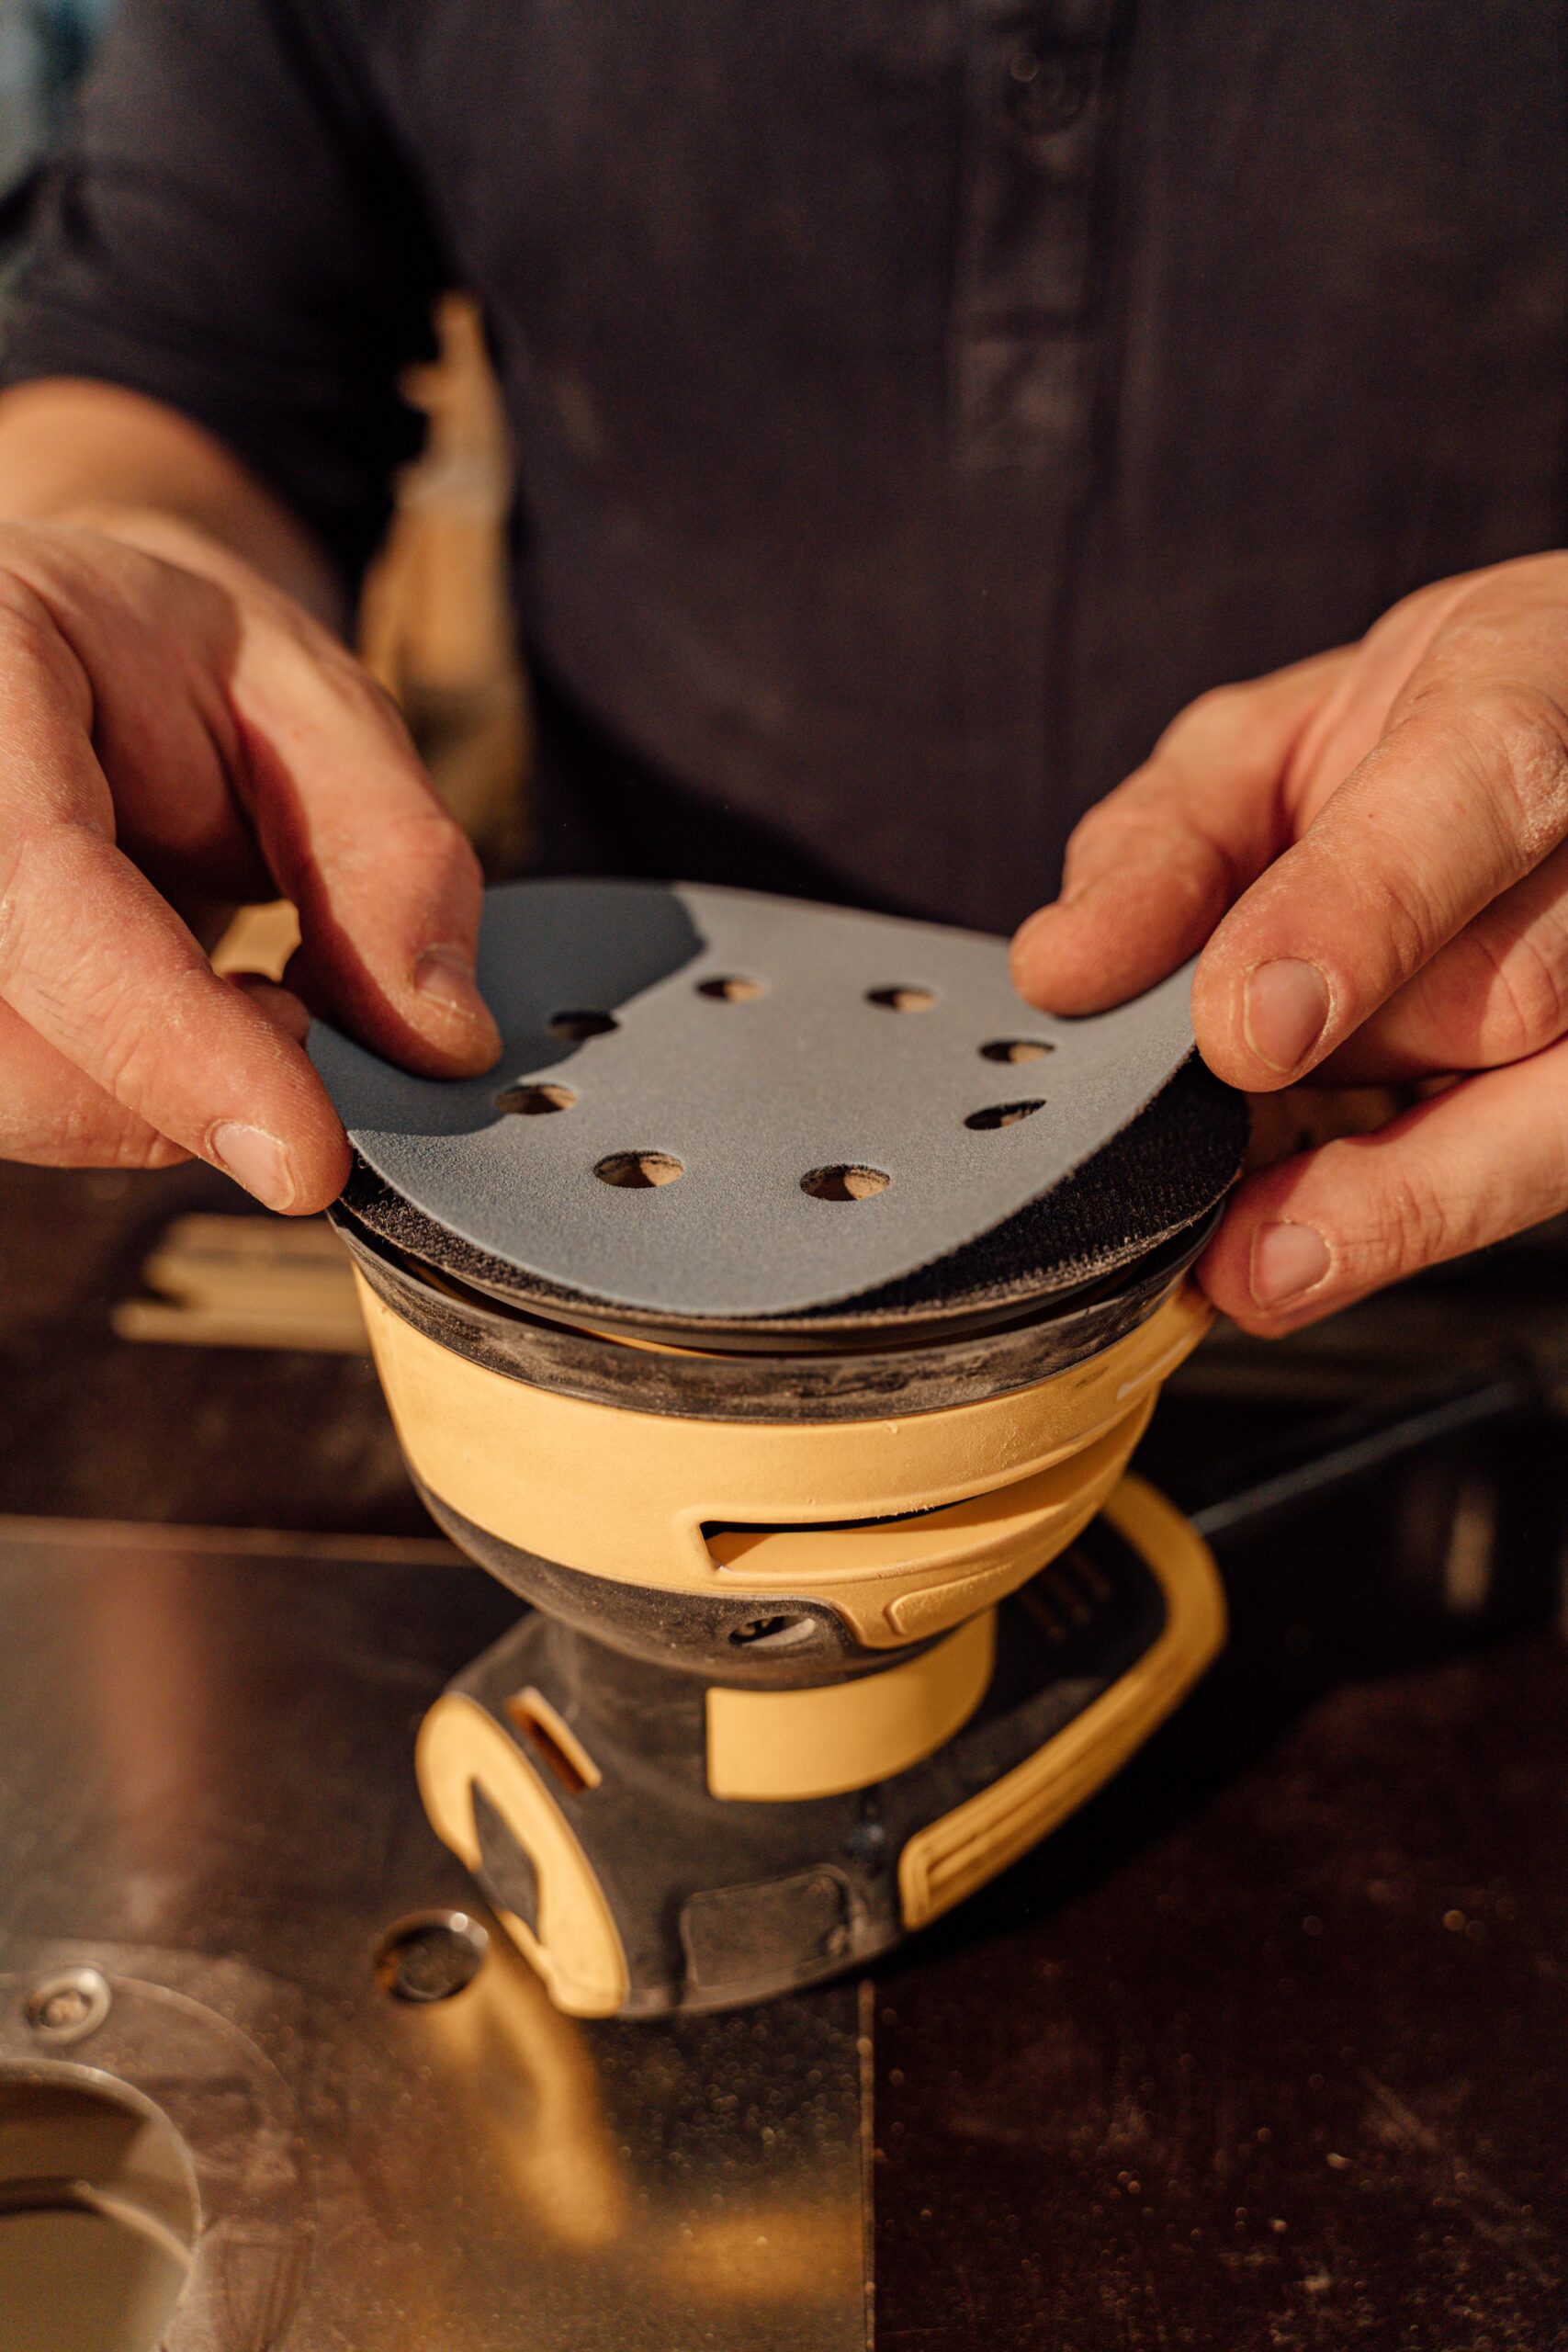
The first step is to sand the print. In a well-ventilated area, and while wearing a respirator, start with a coarse grit sandpaper, around 120–150 grit. This can be done by hand or with a random orbital sander.
Be careful not to focus on one area for too long, as the heat generated by friction can soften or even melt the print. If you’re using an orbital sander, you’ll also need to sand some areas by hand to reach any tight or detailed sections.
Top Tip: Small files and sanding pens are excellent for getting into awkward corners and intricate details.
Once the print has been thoroughly sanded, work your way up to 220 grit, followed by 400 grit, ensuring the entire surface is smooth and consistent.
Phase 2: Filler Putty
Once the dry sanding is complete, you’ll probably notice a few small surface imperfections. This is completely normal and can easily be corrected using either wood filler or automotive body filler.
Our personal favourite is Bondo Glazing Putty. Although it’s an American brand and slightly more expensive than other options, the finish it provides is well worth the investment. It’s widely available from Amazon.
While wearing a respirator and gloves, apply a pea-sized amount of filler to your fingertip or a plastic spreader. Press it firmly into the affected area, building it up in thin layers until the surface is level or just slightly proud.
Allow the filler to dry for a couple of hours before moving on to the next stage.
Phase 3: Apply Filler Primer
Apply a sandable filler primer over the entire print. This helps fill fine scratches and remaining print layer lines that sanding alone may not remove.
We recommend applying three light coats, allowing approximately 20 minutes between each coat. Our preferred brand is Motip.
After the final coat, leave the primer to cure for at least two hours before lightly sanding the entire print with 400 grit sandpaper. Pay particular attention to the filled areas to blend them seamlessly into the surrounding surface.
Phase 4: Wet Sanding
You’re almost there! All the hard work will be worth it once you see the finished result.
For the final smoothing stage, use 600 grit wet-and-dry sandpaper or a sanding sponge dipped in clean water. Sand the entire print using light pressure before repeating the process with 800 grit.
This stage removes any remaining imperfections and leaves the surface ready for painting.
Phase 5: Cleaning – You Made It!
The final step is to thoroughly clean the print. Although wet sanding significantly reduces dust, a fine residue can still remain on the surface.
Using lukewarm water and a small amount of washing-up liquid, gently clean the entire print. Rinse thoroughly with clean water to remove any soap residue and allow the print to air dry completely.
Your print is now ready for primer, paint, and weathering.
Optional Step: Guide Coat
If you’re aiming for the highest possible finish, a guide coat is a fantastic technique to use after applying filler primer.
Once the primer has dried, lightly dust the surface with a contrasting spray paint. This only needs to be a very light mist—avoid applying a heavy coat.
Sand the surface again using 400 grit sandpaper. The guide coat will quickly disappear from high spots while remaining in low spots, making any remaining imperfections immediately visible. Repeat the filling and priming process where necessary until the surface is perfectly smooth.
Recommended Tools
- Random Orbital Sander – Available from most hardware stores, including B&Q, Toolstation and Amazon. A huge time saver for larger prints.
- Assorted Needle Files – Ideal for cleaning up small details and hard-to-reach areas.
- Wet & Dry Sandpaper – Buy a mixed grit pack covering 120–800 grit.
- Sanding Pen – Perfect for intricate details and tight corners.
- Bondo Glazing Putty – Excellent for filling small imperfections before priming.
- Motip Filler Primer – A high-build primer that fills fine scratches and print layer lines.